Resin Poured Tea Light candle holder
Resin pouring
For this project you will learn how to mix, pour, and colour ‘crystal ice’ resin and then combine it with a piece of Teak (a native Thailand hardwood timber) to create a simple, effective and quite beautiful product. The same skills you will learn within this project can be ‘scaled up’ to make a coffee table, dining table, jewelry, knife block, lamp etc.
Resin pouring useful information 0 messy, gloves, plastic sheet, blow torch, moulds, mix, inks and dyes, sanding masks, equipment (hand held sanders etc.). Replace main image with better photos – higher res.
All links need to be edited. Step by step production method
Add / create a design booklet for the project

step 1 – 2D symmetrical sketching
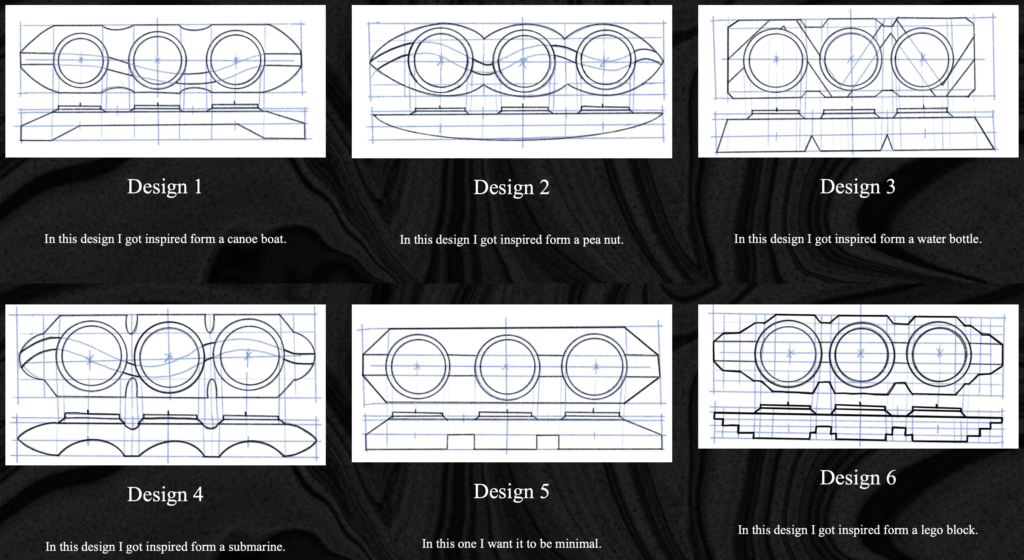
Initial 2D Symmetrical sketching
2D Symmetrical sketching is vitally important and used at all stages of designing. Professional designers and advanced sketchers use this technique all the time as it makes sketching easier.

step 2 – Rendering 2D design ideas
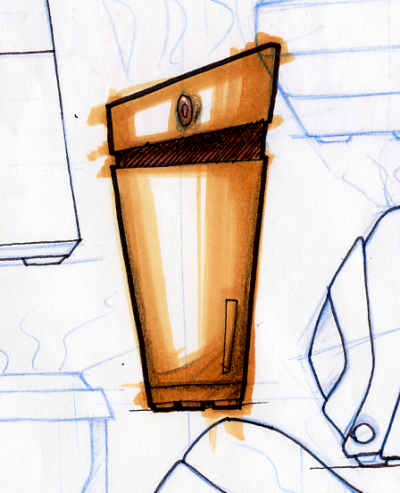
Communicating materials is another highly important technique. Click on the link to understand how to apply a wood grain to your sketched ideas.
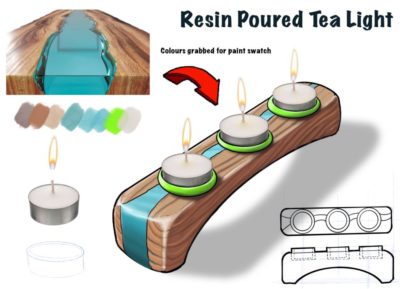
step 3 – 2 Point Perspective sketching
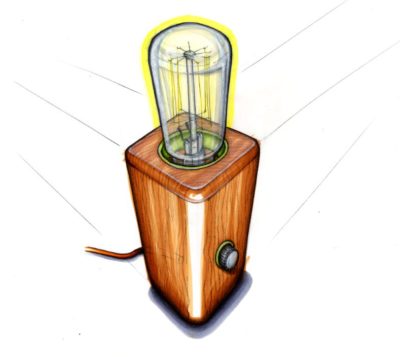
Sketching in 3D is a fantastic skill and one which requires practice, through repetition. This 3D method of sketching is called 2 Point Perspective gives a sketch a more realistic, although sometimes distorted look.
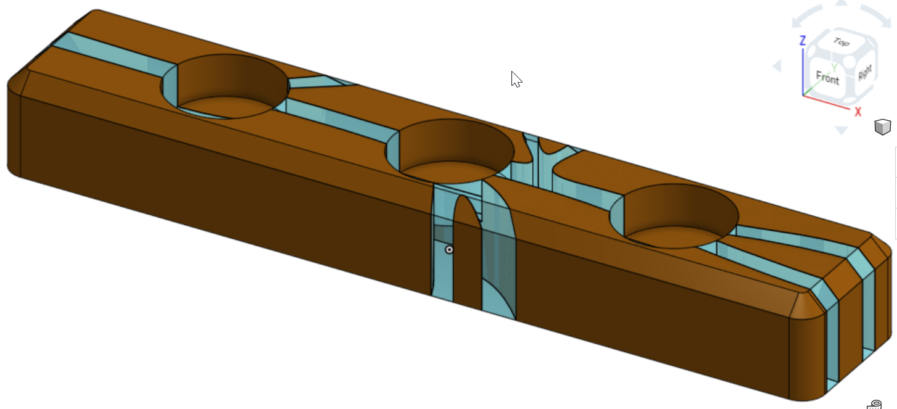
3D CAD
Using 3D CAD, or Virtual Modelling, allows the presentation of an idea from many viewpoints. Modelling in 3D can be integrated into development work as well as linking to a variety of subtractive or additive manufacture methods.
Link 4
