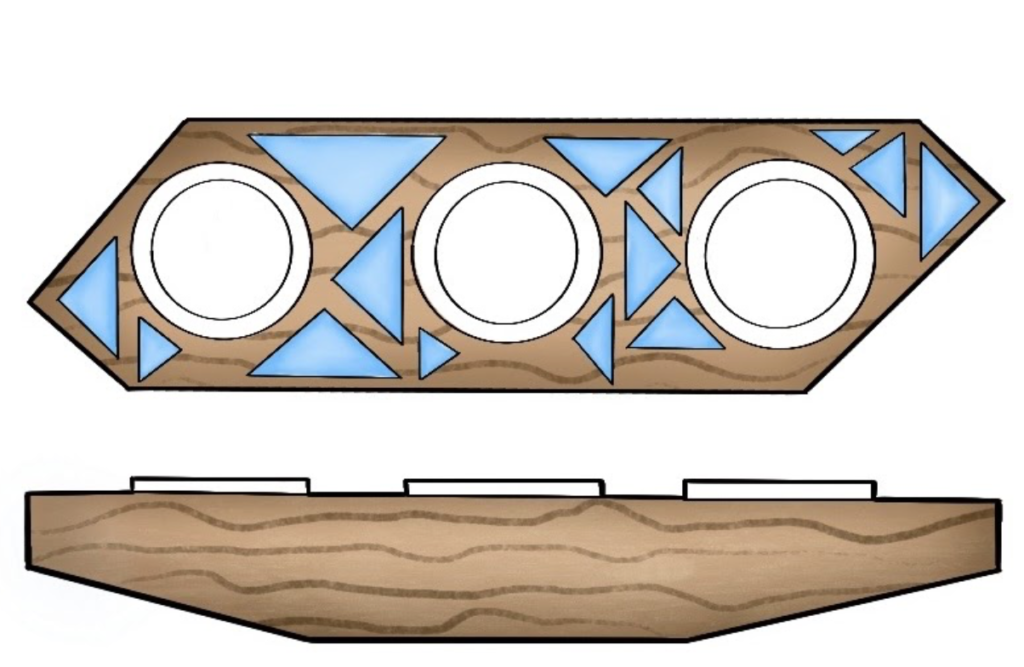
2 Point Perspective sketching
(Resin poured Tea Light Holder)
To complete the following tasks you will need, as a minimum: some plain paper (ideally A4 white paper); a sharp pencil (ideally a mechanical pencil); a black fine line pen (0.8mm); some coloured pencils including some brown shades.
All links need to be edited. Step by step production method
Add / create a design booklet for the project?
two point perspective final design idea
Final design – communication of the final design that you wish to manufacture, sketched in 2 Point Perspective.
The video above demonstrates the sketching, in 2 point perspective, of a Resin Poured Tea Light holder. It has then been rendered with a wood grain texture, as well as shadows and Tea Light candle photographs added. This was done using Procreate on an iPad.
Step 1
Start by lightly sketching a vertical line to represent the front corner of the rectangular ‘box‘ for the resin poured tea light holder framework. Connect points (top and bottom) on the vertical line to the vanishing points at both sides on the horizon line (towards the top of the page) – see video 1.
Sketch out the rest of the box for the rectangular frame. Divide the box into sections, based upon the 3 tea light candle placements, and then lightly sketch out your design in pencil.
Using the Thick and Thin lines technique add black fine line pen to your sketched work to make the design stand out.
This last video shows the process of adding some colour rendering to the outlined sketch.
This was done very quickly during a lesson so it is far from perfect. I will replace with a better one when I can.
student examples

