Sketching & Rendering
Sketching & rendering course
This course in sketching and presentation techniques will guide you in the steps that we commonly use with all students, from Y5 through to Y10 (Start of GCSE / IGCSE) and also again, but at a higher level, with Y12 (A level) students and beyond.
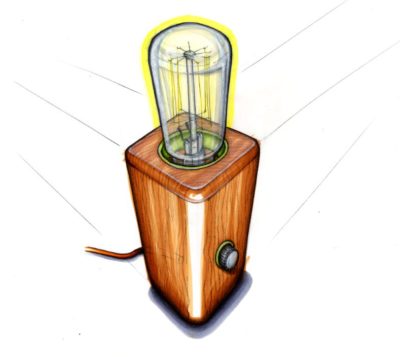
The course covers equipment for sketching and techniques such as Blue pencil sketching, Weight of line, Construction lines, Fine line pen, Thick and Thin lines, 2 Point perspective sketching, complex shapes, Composition, Markers and shading, and detailing. All of these areas are covered to aid the presentation and communication of design intent.
Below are previews of the individual elements that the course will cover.
Equipment
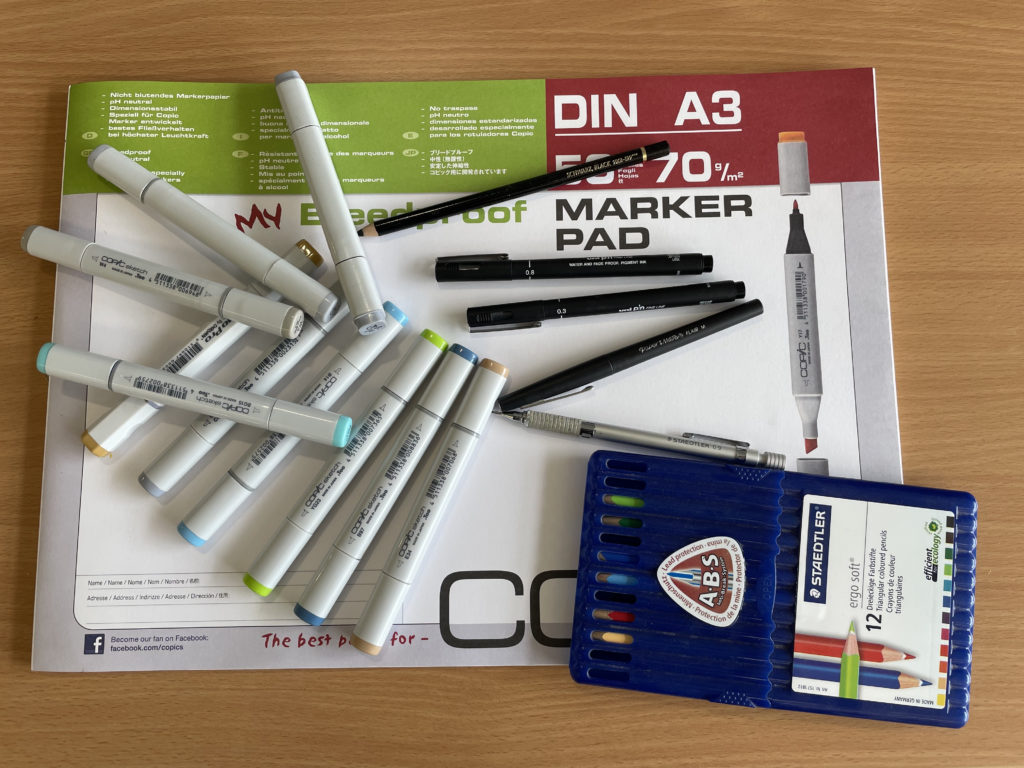
To communicate and present design intent at a higher, more advanced level, a range of different methods and techniques should be used including: blue pencil sketching, weight of line, thick & thin lines, 2D sketching, 3D sketching (2 Point Perspective), markers.
We would suggest some basic equipment to help present design work and as a minimum, the following items are highly recommended: a mechanical pencil (0.7mm or 0.9mm) – a Rotring 600 is a fantastic, albeit expensive, mechanical pencil; black fine line pens (various widths but start with 0.3mm & 0.8mm); a black Papermate flair (recommended) or Sharpie; a soft black coloured pencil; an eraser; A4 plain white paper; A3 marker paper; 4 or 5 markers (they do not have to be Copic, although Copic are the best!) including either Warm or Cool Grey 3, Warm or Cool Grey 4 or 5; a couple of colours of your choice (but not too dark!!); some coloured pencils may also be useful as may be a white chinagraph pencil to add highlights.
Techniques
Below is a step-by-step process of using a range of sketching techniques to build more advanced communication and presentation techniques.
Technique 1 – 2D symmetrical sketching & markers
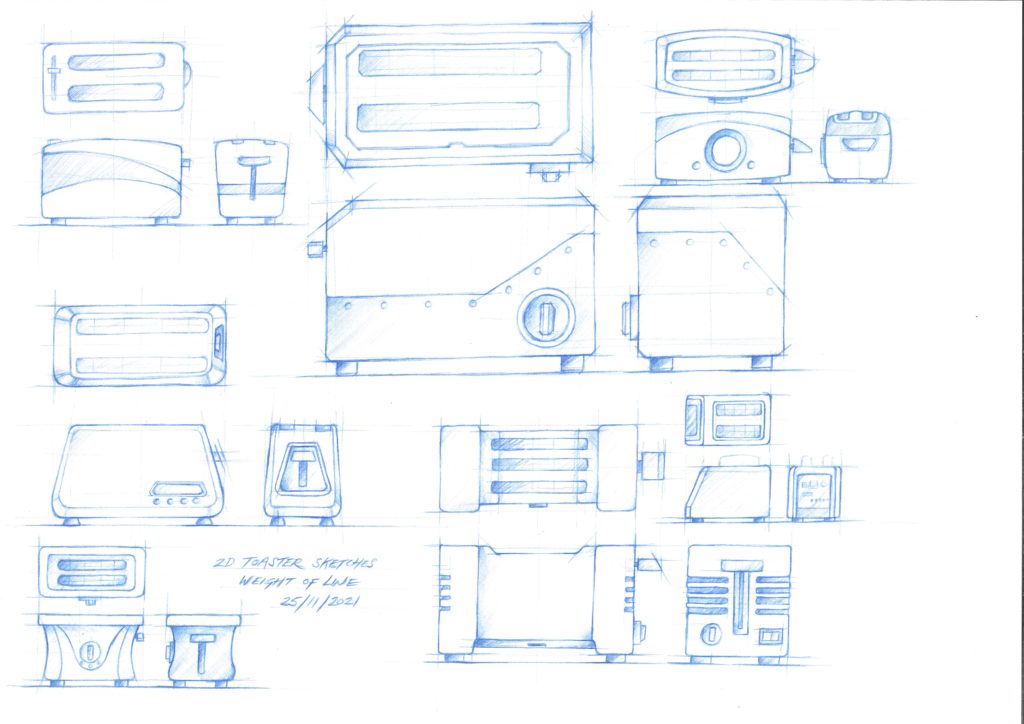
Initial 2D Symmetrical sketching – Basic
This first stage of the course demonstrates and explains equipment, sketching tips, warm up exercises, sketching 2D basic shapes that can be used as reference guide, fine line pen guidance and the application of marker pen.
2D Symmetrical sketching is vitally important and used at all stages of designing. Professional designers and advanced sketchers use this technique all the time to make sketching easier.
Technique 2 – 2D Marker rendering
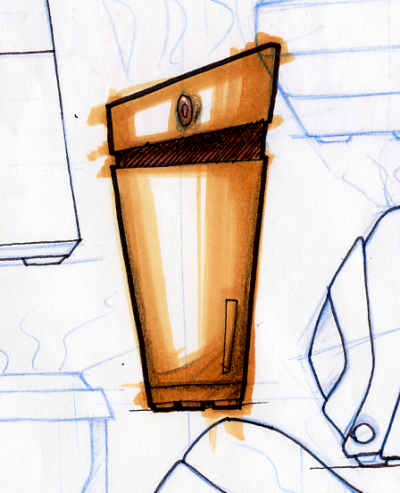
The second stage of this course demonstrates how to Marker render more detailed and complex 2D sketches than the 2D basic shapes.
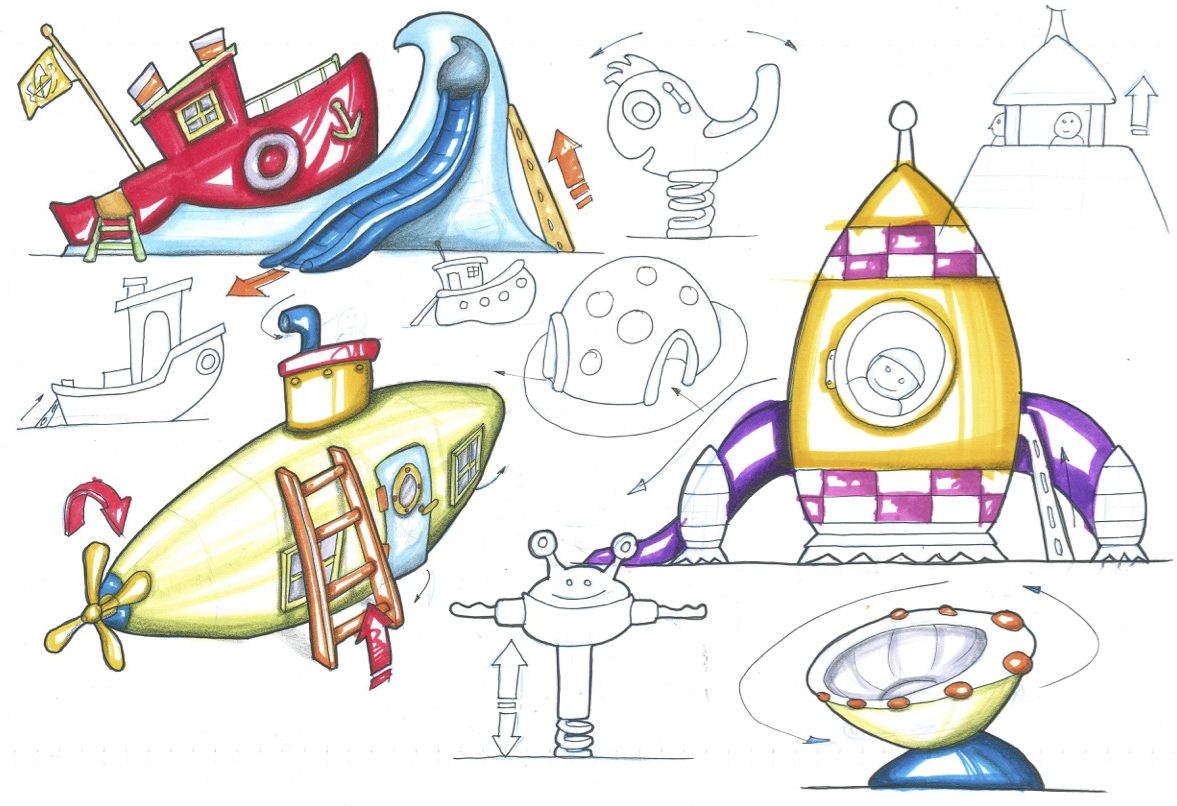
Using markers along curved lines and more precisely to separate sketches into different ‘material’ colours.
Click the button below to see different types of application of Marker pen to sketch work.
Technique 3 – 3D sketching through 2 pt perspective
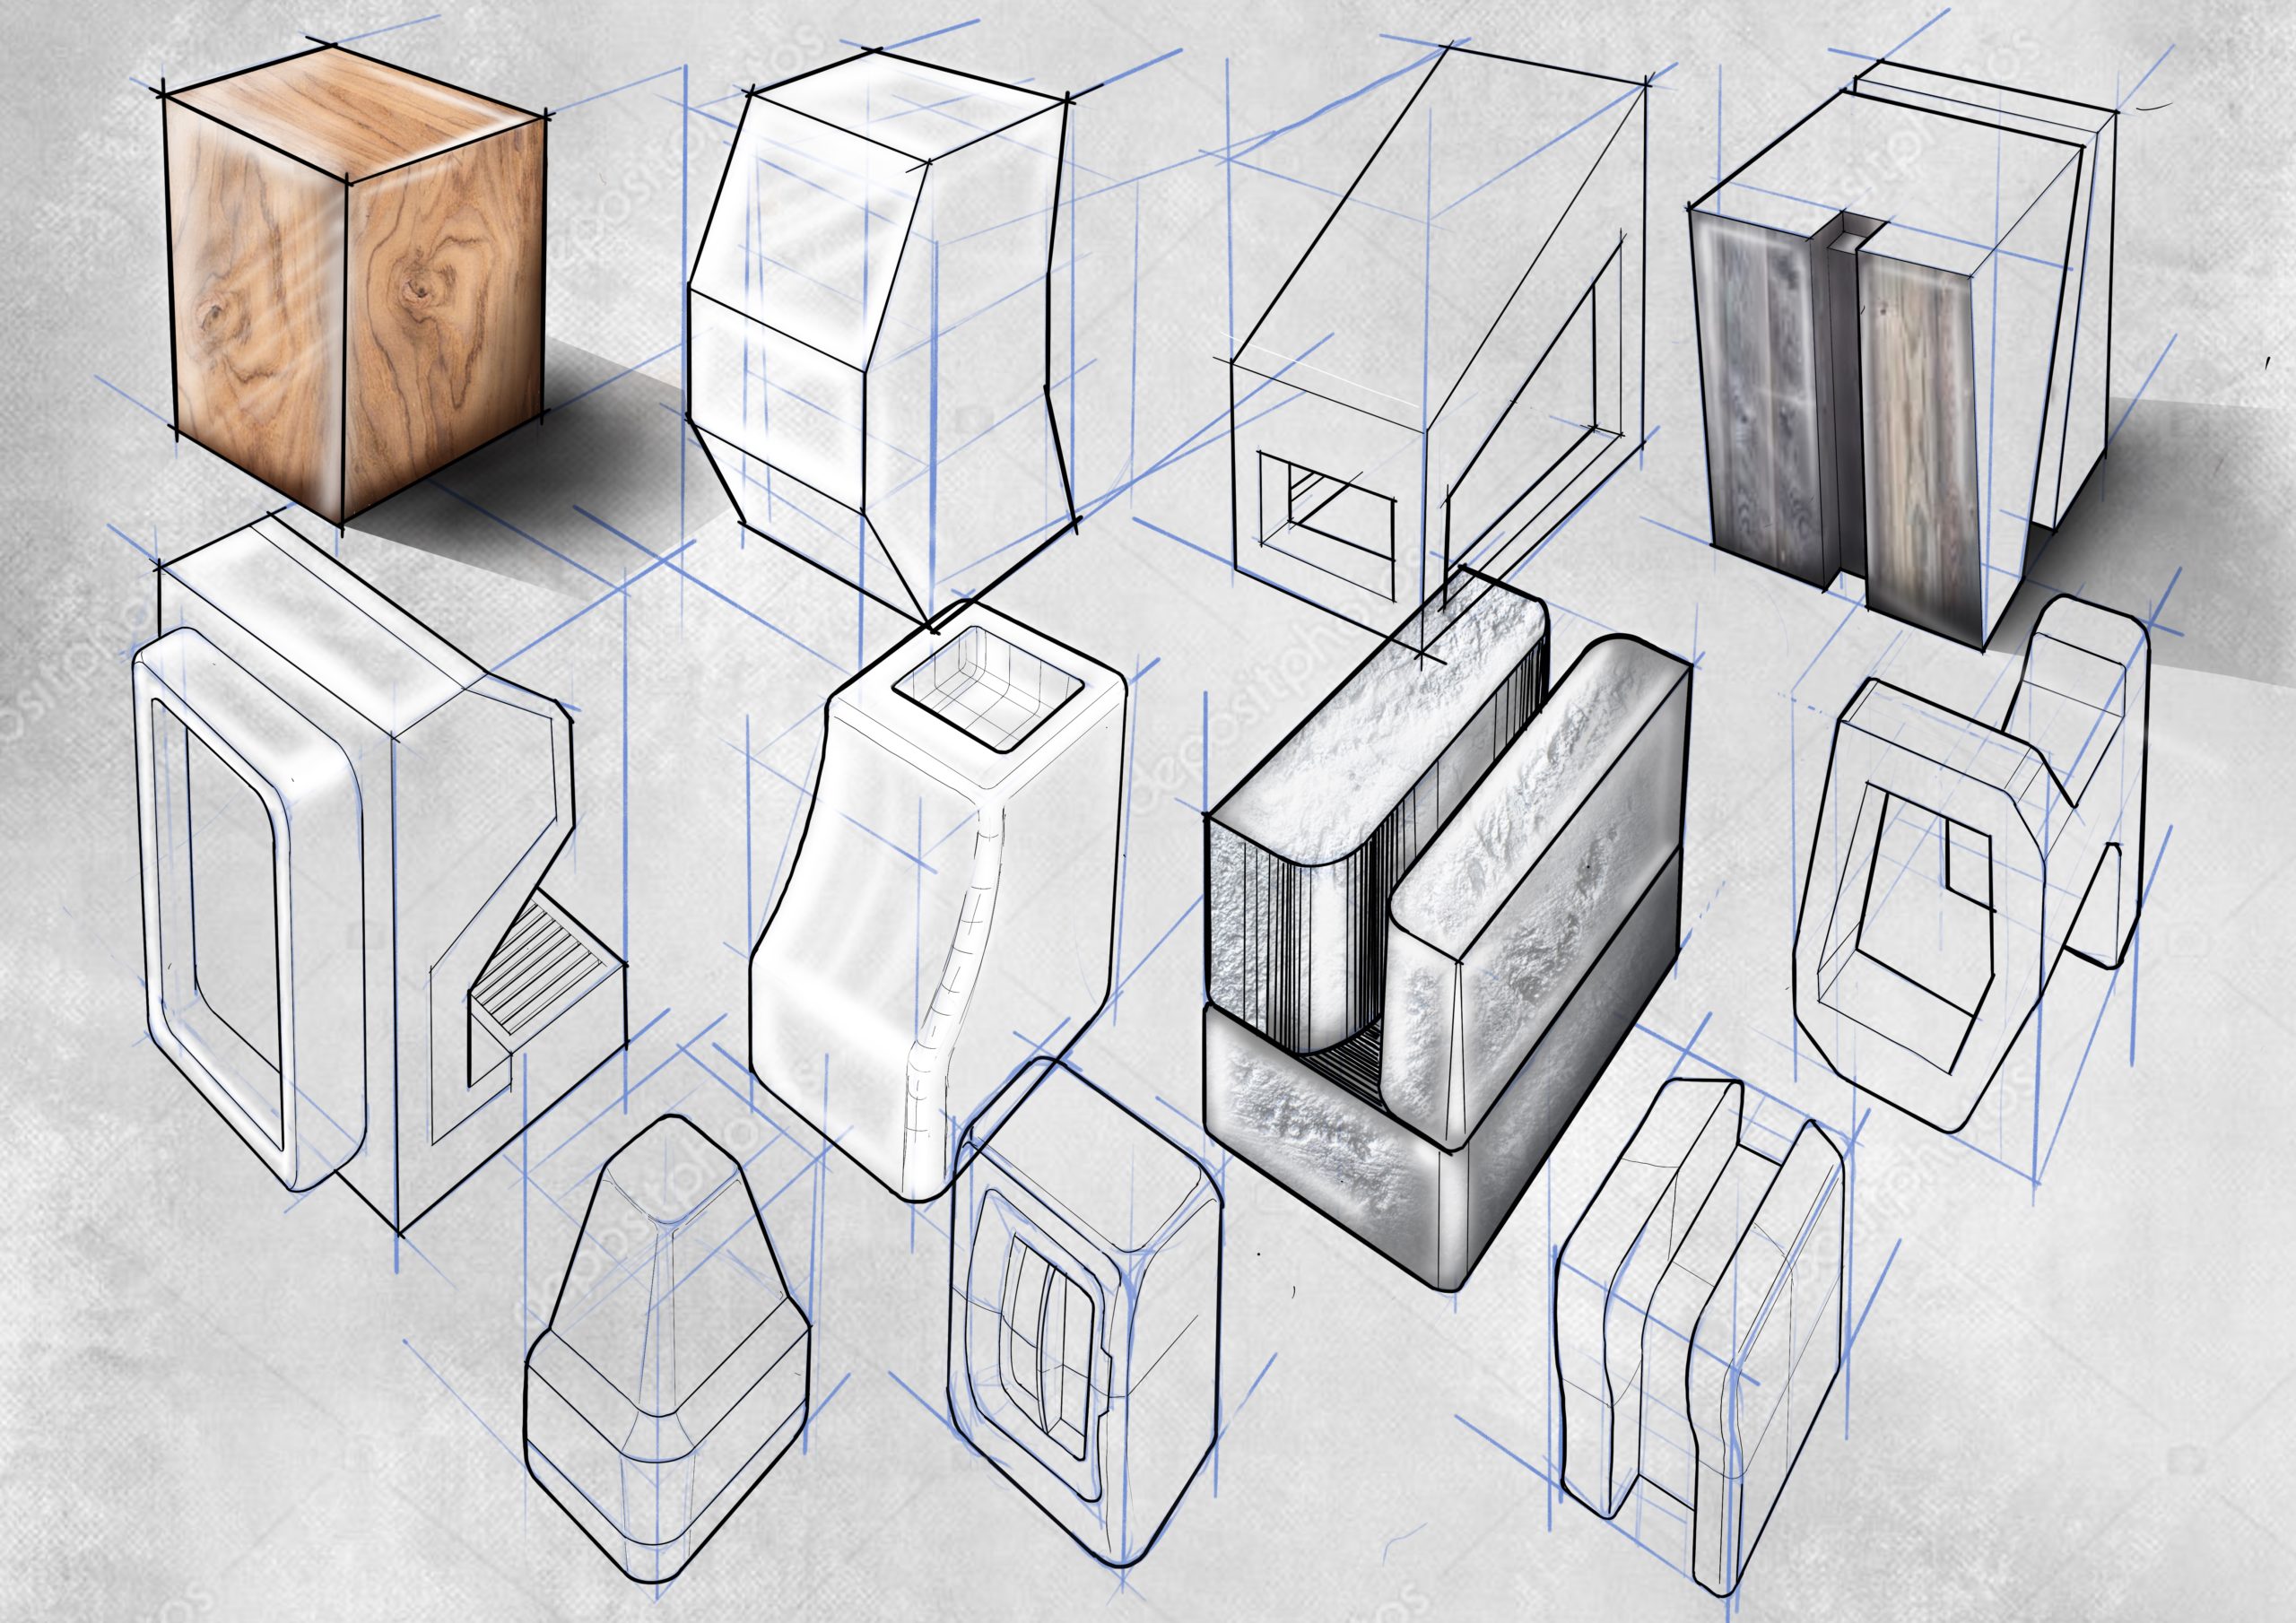
The third stage of this course demonstrates how to sketch in 3D using 2 point perspective techniques. Sketching in 3D is a fantastic skill and one which requires practice, through repetition. This technique of 3D sketching gives a sketch a more realistic, although sometimes distorted look.
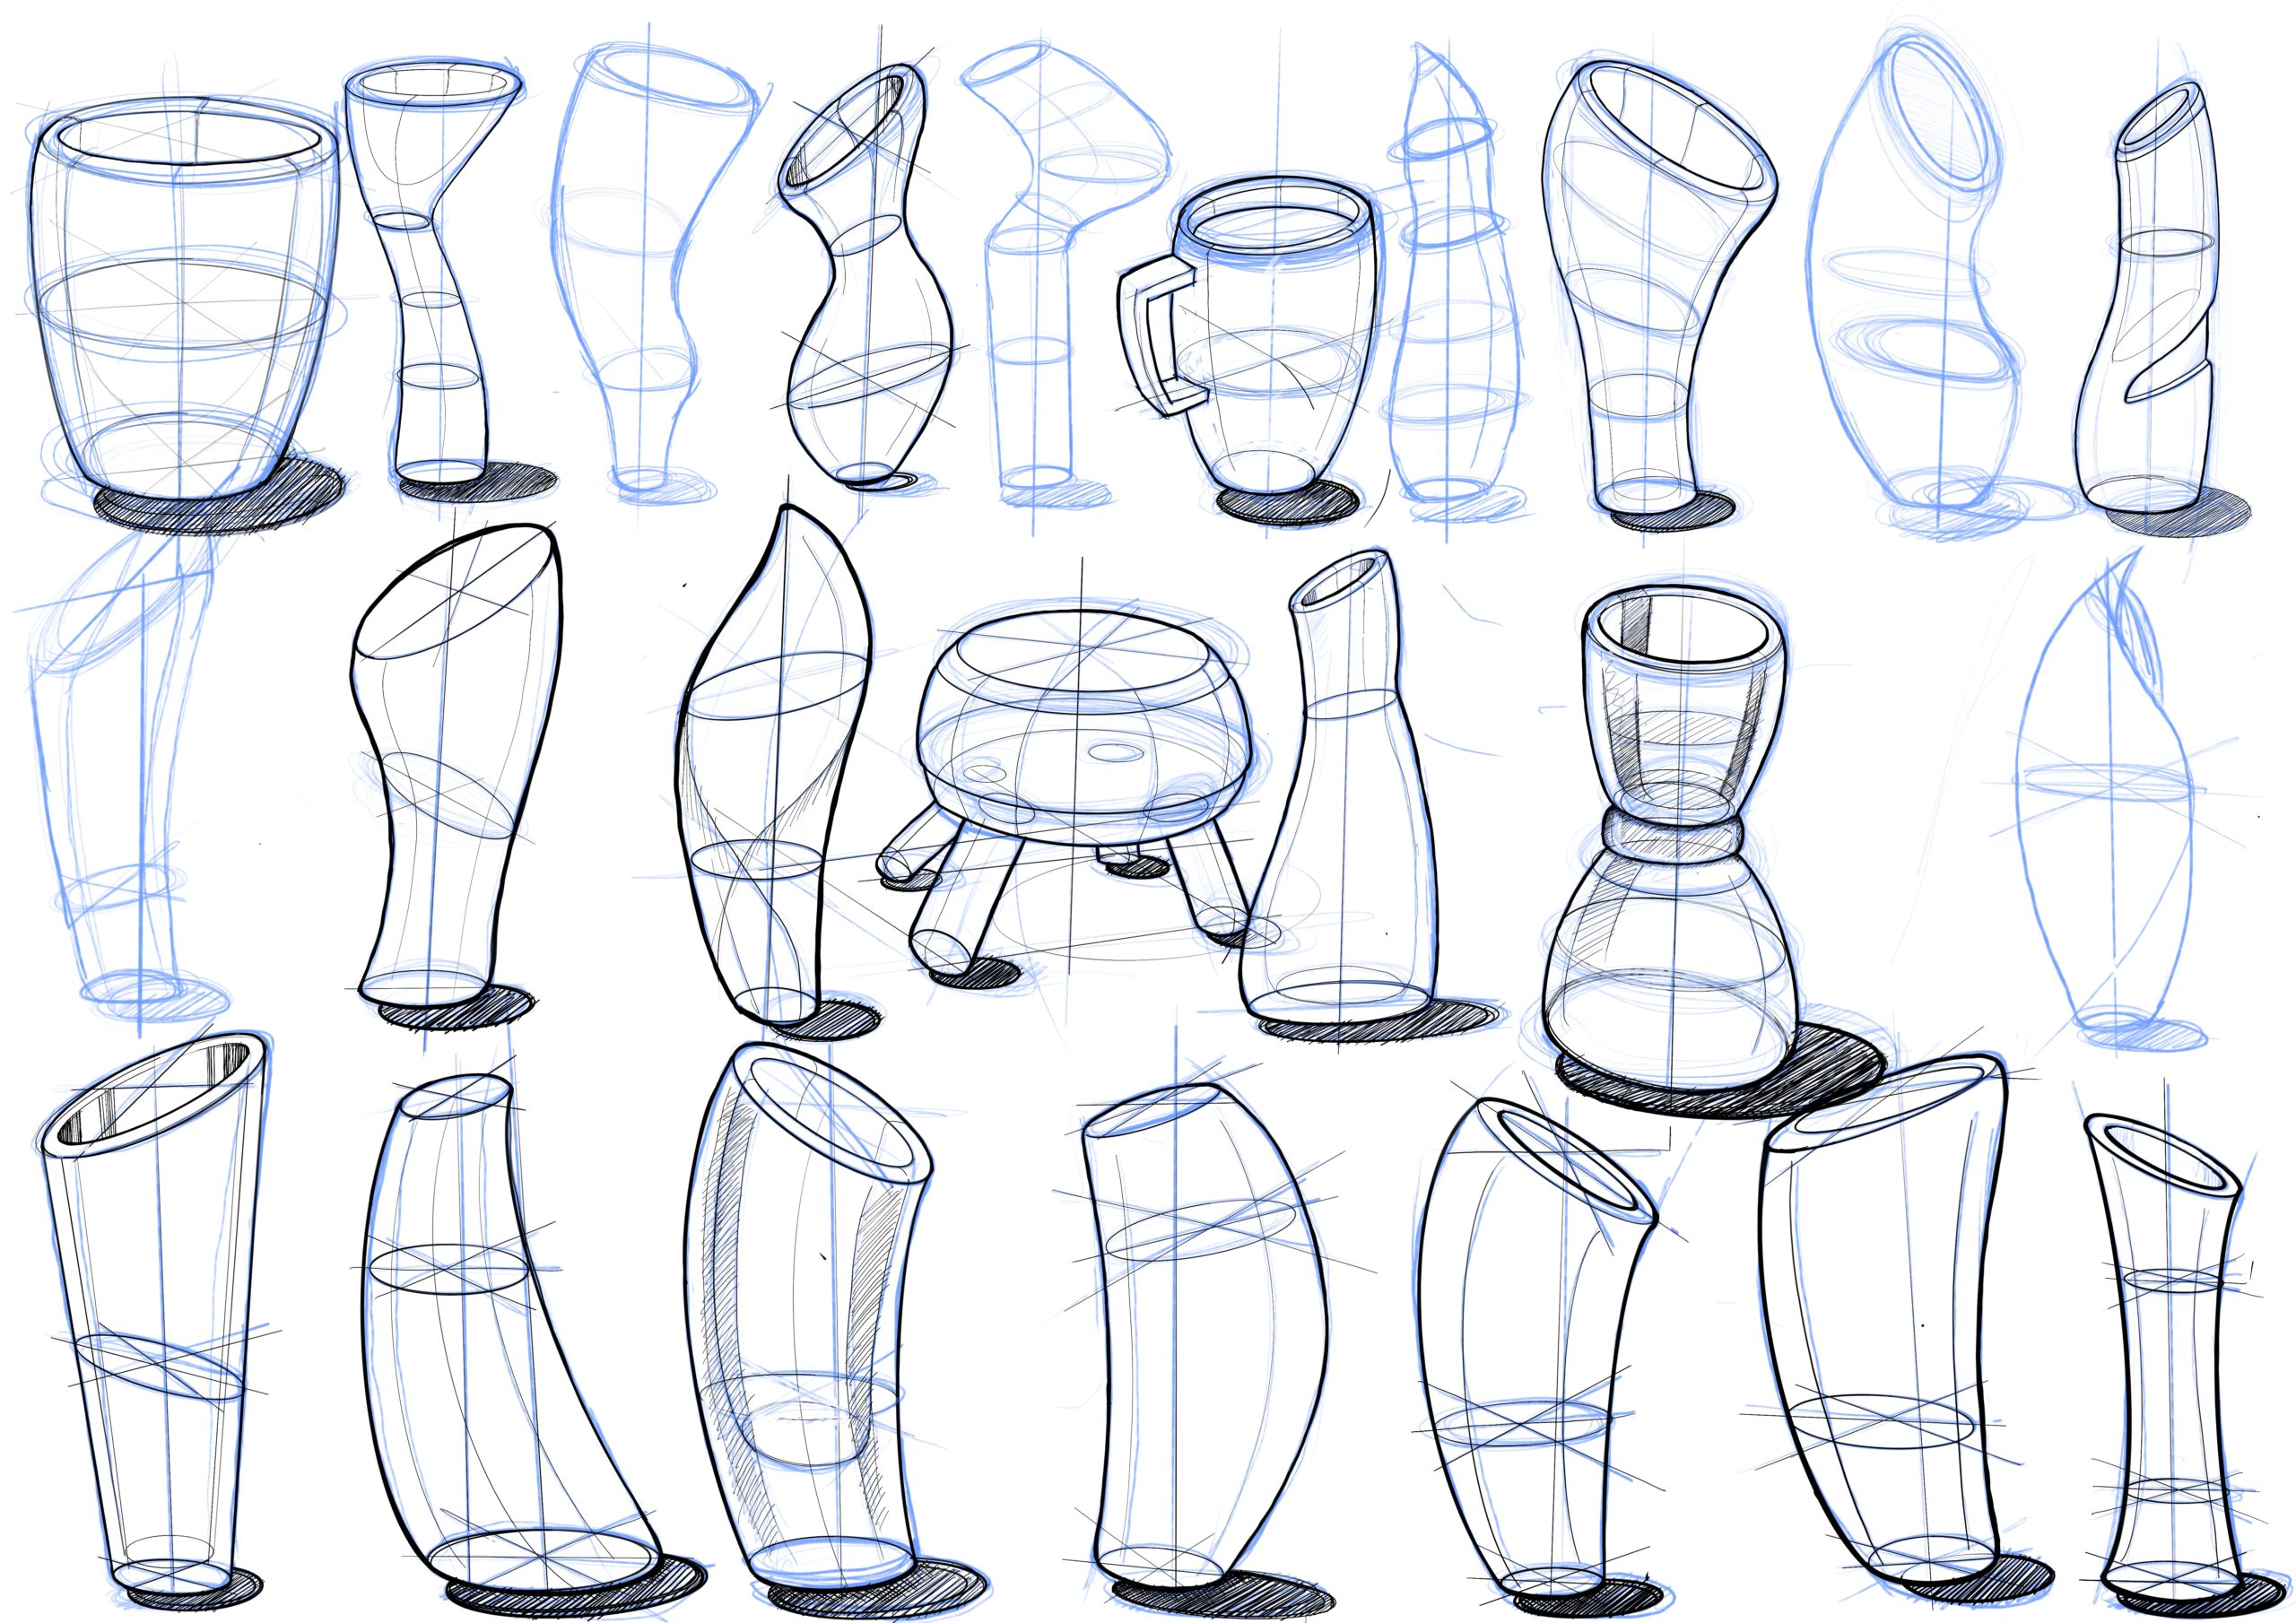
technique 4 – 3D sketching
cylindrical forms
The fourth stage of this course demonstrates sketching 3D cylindrical forms. When combined with 2 point perspective techniques this allows for more complex and organic forms.
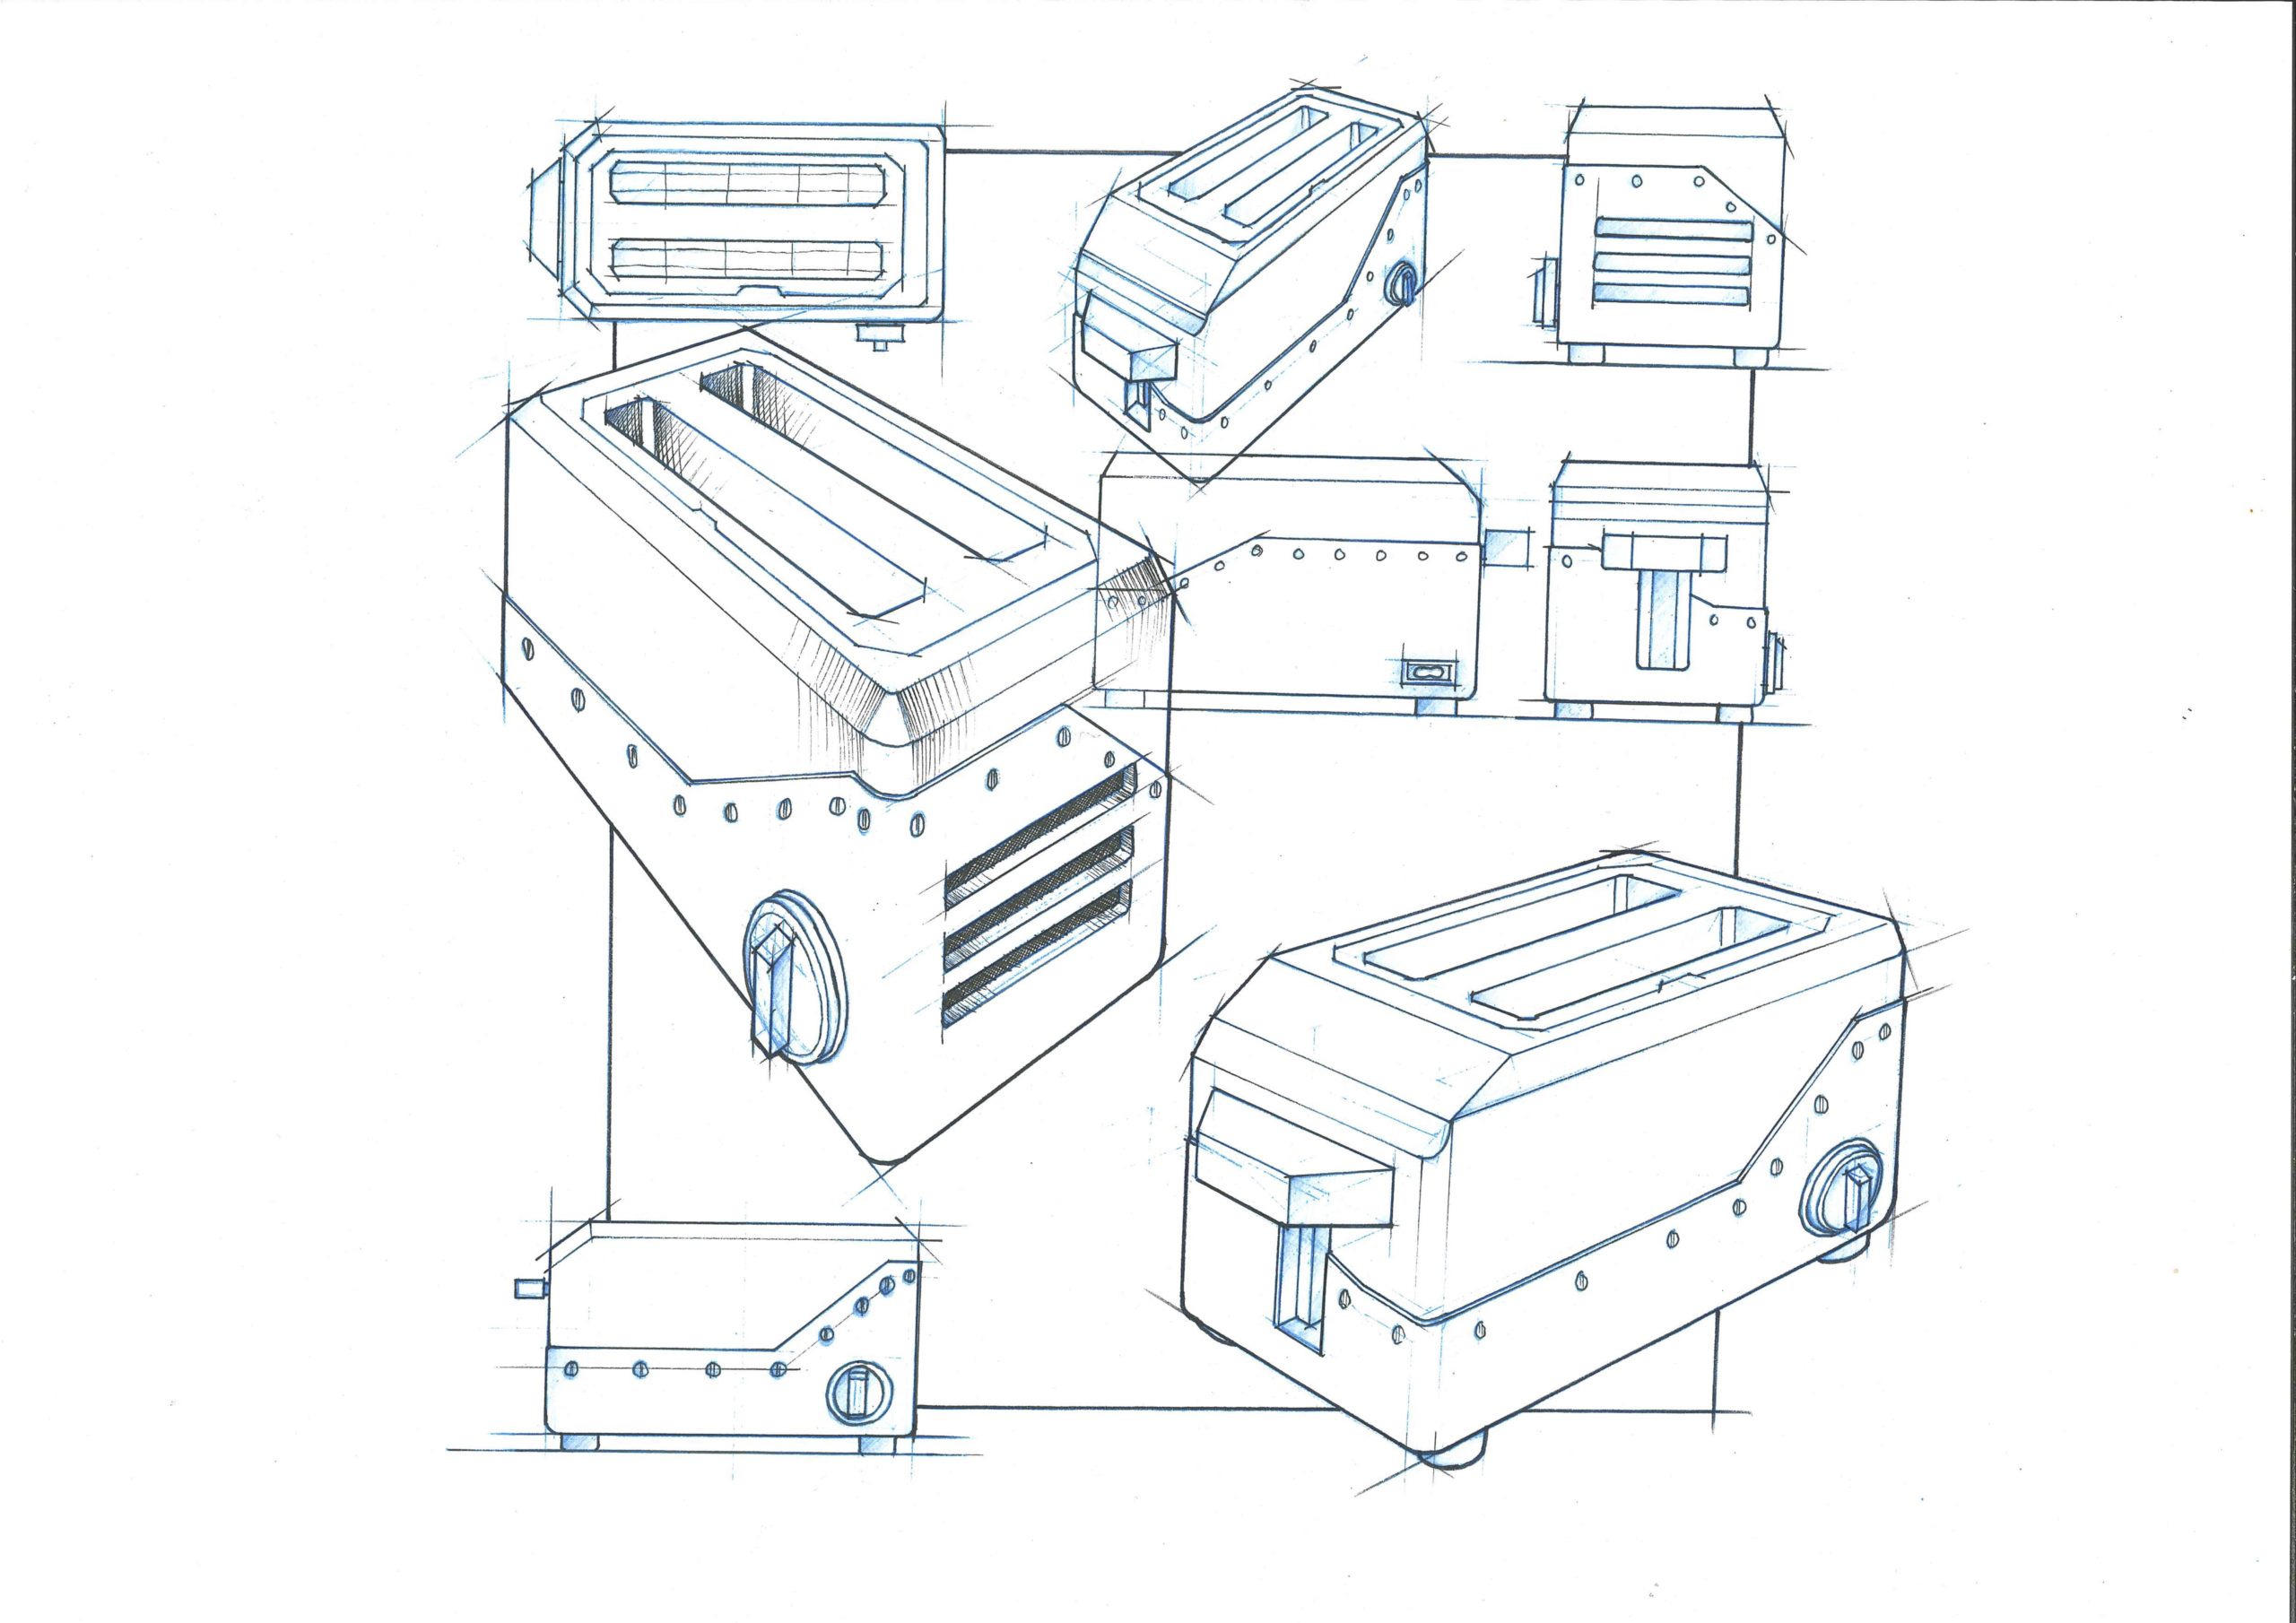
technique 5 – Design composition
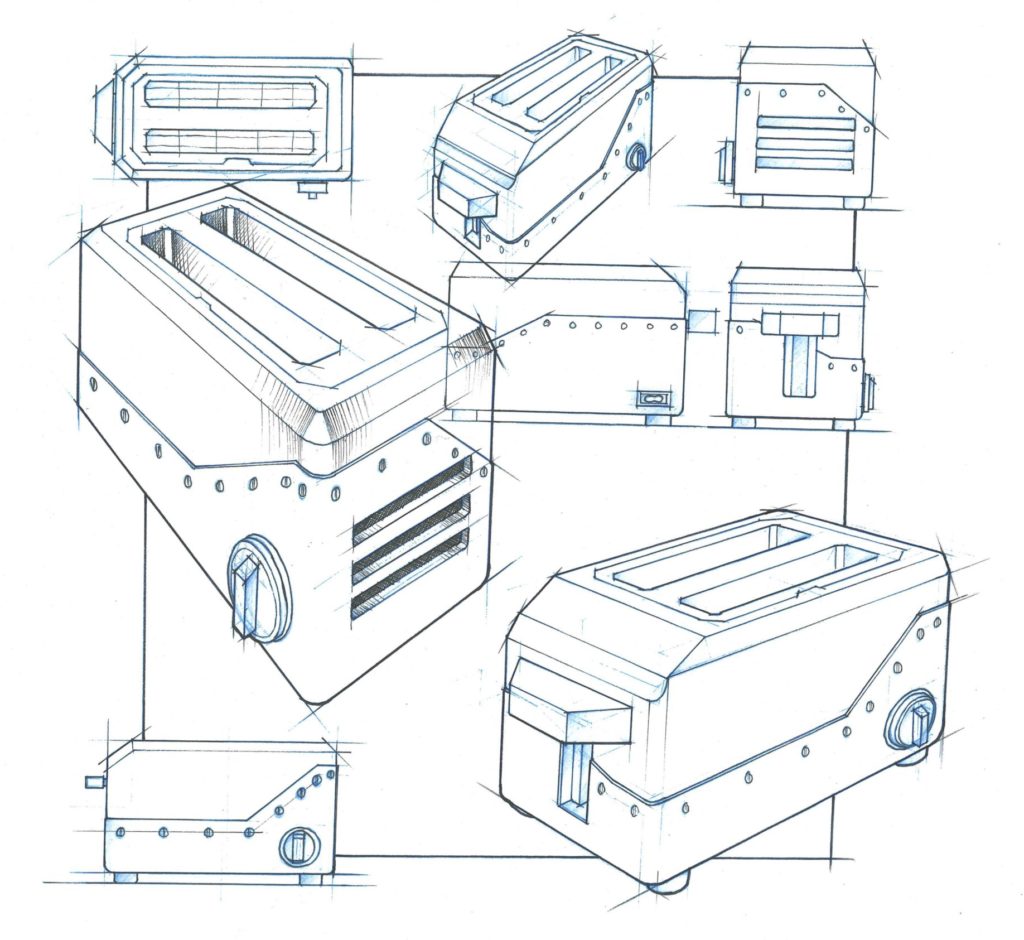
This technique brings together the elements of 2D sketching and 3D sketching to create design sheets that demonstrates a number of different views of an idea.
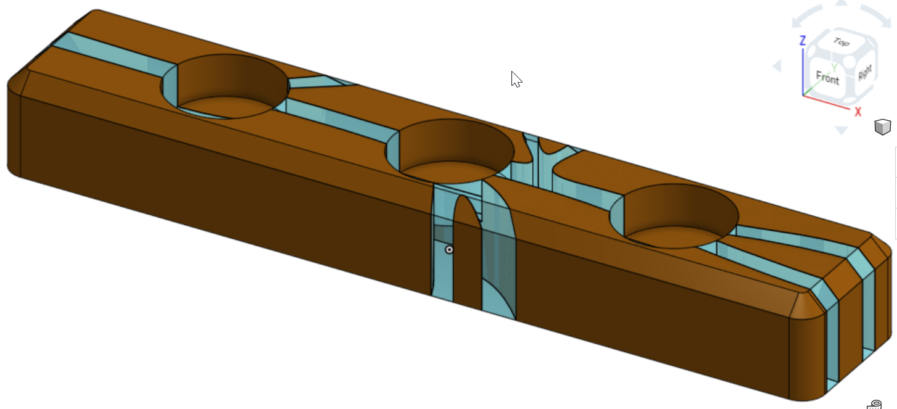
technique 4 – annotation
Information on how to annotate design ideas and development work – describe, explain, evaluate, or you could use the PEEL method – point evidence explain and link.
Link 4
